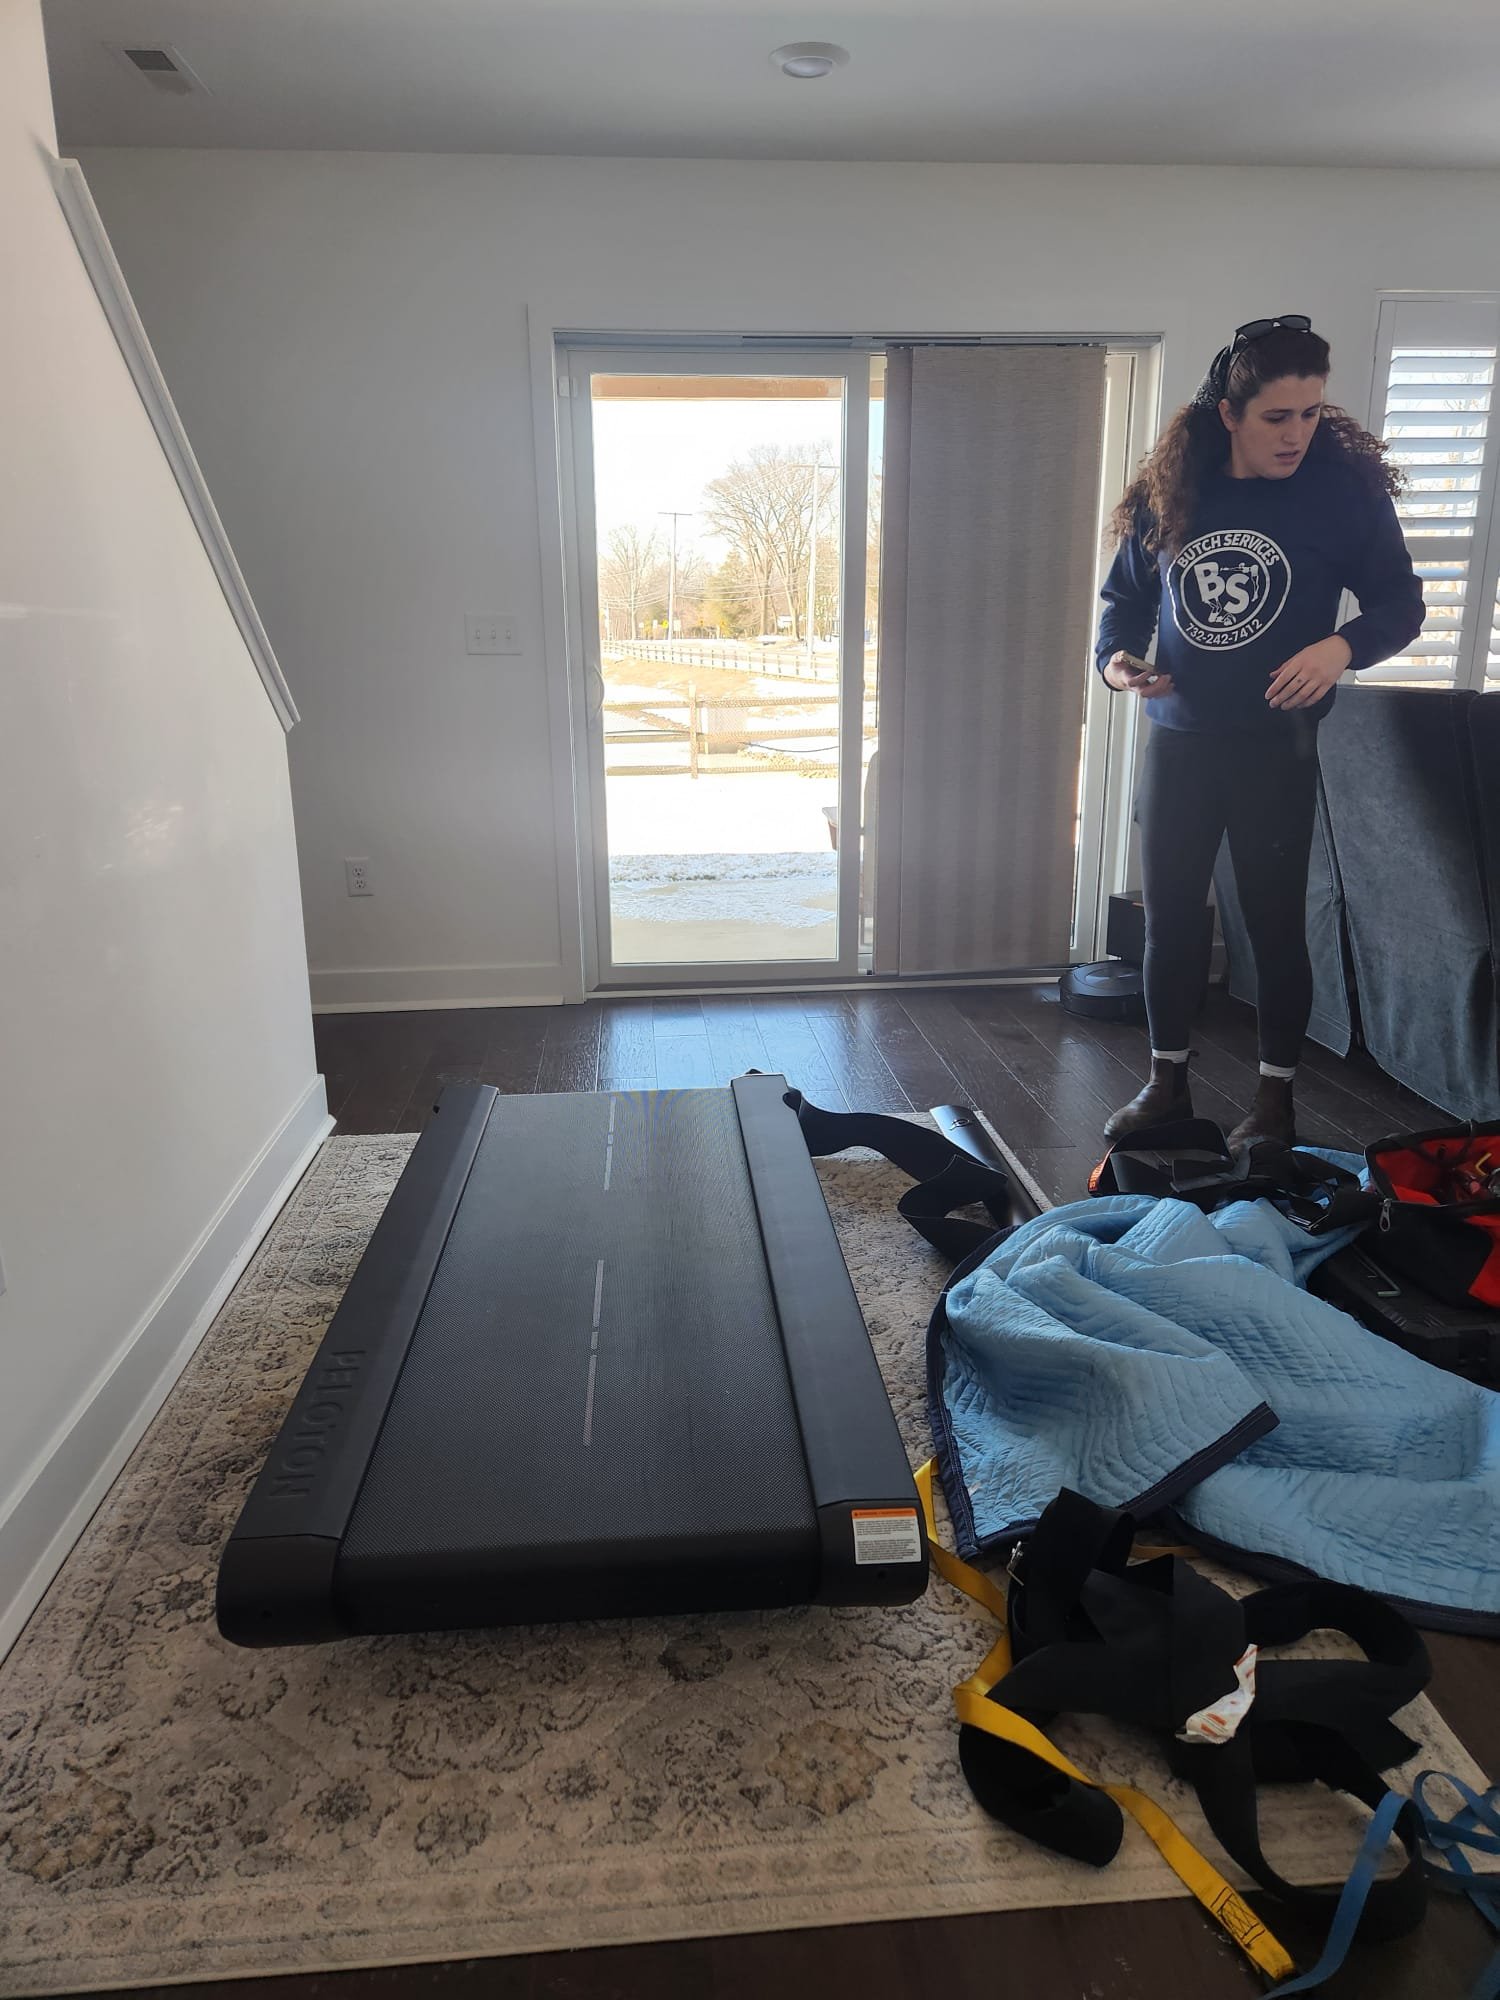
How to move a Treadmill Up or Down a Staircase
Go-To Guide from the Experts. Presented by Butch Services
Learn the Right Approach from the Professionals
Moving a treadmill requires careful planning and execution, but with the right tools and teamwork, it can be done smoothly.
Whether you're relocating to a new home or simply rearranging your current space, this guide will help you move your treadmill safely and efficiently. Professional Movers sharing from their Knowledge and Experience to make sure you're Prepared to tackle the task.
What You Will Need
At least Two Sturdy Helpers: Teamwork makes the dream work!
You will want to figure out how much your unit weighs to determine how many people you’ll need for the job, you can usually find this information on shipping details or by looking up the make and model of the machine and searching the user manual. For trained movers, we allocate up to 150lbs per person on team lifts and reference the weight of the item to determine how many movers will be needed for the job. You can do this similarly at home by finding the weight of your tread mill and the weight each of your potential helpers can comfortably squat on a rack or leg press machine at the gym to determine your team’s potential lifting power.
A Good Set of Allen keys and possibly a socket set: Essential for disassembly.
Your not going to be able to get away with the pile of various Ikea throw-aways in the bottom of the junk drawer- Our movers always carry a tough built no skip full range size set of Allen keys and sockets to tackle any make or model machine. I personally recommend the Icon line from Harbor freight for decent diy tools that don’t break the bank, This 13 piece Allen Key Set is in my tool bag every day and has been able to tackle any task we come across.
Moving Straps & Furniture Pads: To protect your equipment and surroundings.
If you are moving heavy items such as a treadmill up or down stairs these are a Must Have. We specifically recommend a set of moving straps with body harnesses such as The Shoulder Dolly so you can maximize use out of the largest muscles in your body and focus on taking the proper time and attention when moving the item without worry about wearing on your arms and upper body. You will want Heavy Weight Furniture Pads to create a soft barrier between the hefty metal on the machine and any flooring, drywall, & soft human bodies that it could potentially graze against or come in contact with and damage during the moving process.
Ratchet Straps: For securing the treadmill during the move.
You will definitely need these if you plan on transporting in a vehicle or shipping container to tie the unit down and prevent shifting, but what you may not know is they prove just as useful for in-home treadmill moves. Our mover’s special technique is to use a system ratchet straps across the machine to secure the main lifting strap in place and provide secure grabbing points throughout, enabling careful manipulation of the unit and a flawless expert touch! I currently use these DeWalt S-Hook Type Ratchet Straps as they interlock nicely to themselves and work well with the tie down points in my pick-up truck.
Tape or rubber moving bands: Useful for keeping loose parts in place.
Wrap it up like you would wrap your mother’s Christmas present. Can hold wiring in place and bolts together as well as ensure no loose blanket ends or straps to slip on. Professional Movers like reusable rubber moving bands as opposed to clear packing tape because it leaves no residue on the machine and doesn’t damage blankets when removed.
Care, Determination, and Good Communication: Key ingredients for a smooth move.
Nobody knows it better than us, if your not prepared to tackle it yourself and need a professional for your move we’d be glad to take care of it for you. Butch Services is On Call every day, you can have experts dispatched to your area and complete the task in Hours! Contact 732-242-7412 for Estimate & Booking
Getting Started
Whether you have a commercial grade exercise machine, standard home fitness treadmill, or a store-able/folding model, the First Step should be Disassembly.
Folding Model Example note the plastic covers slide up each side posts to reveal bolts for removal of upper assembly
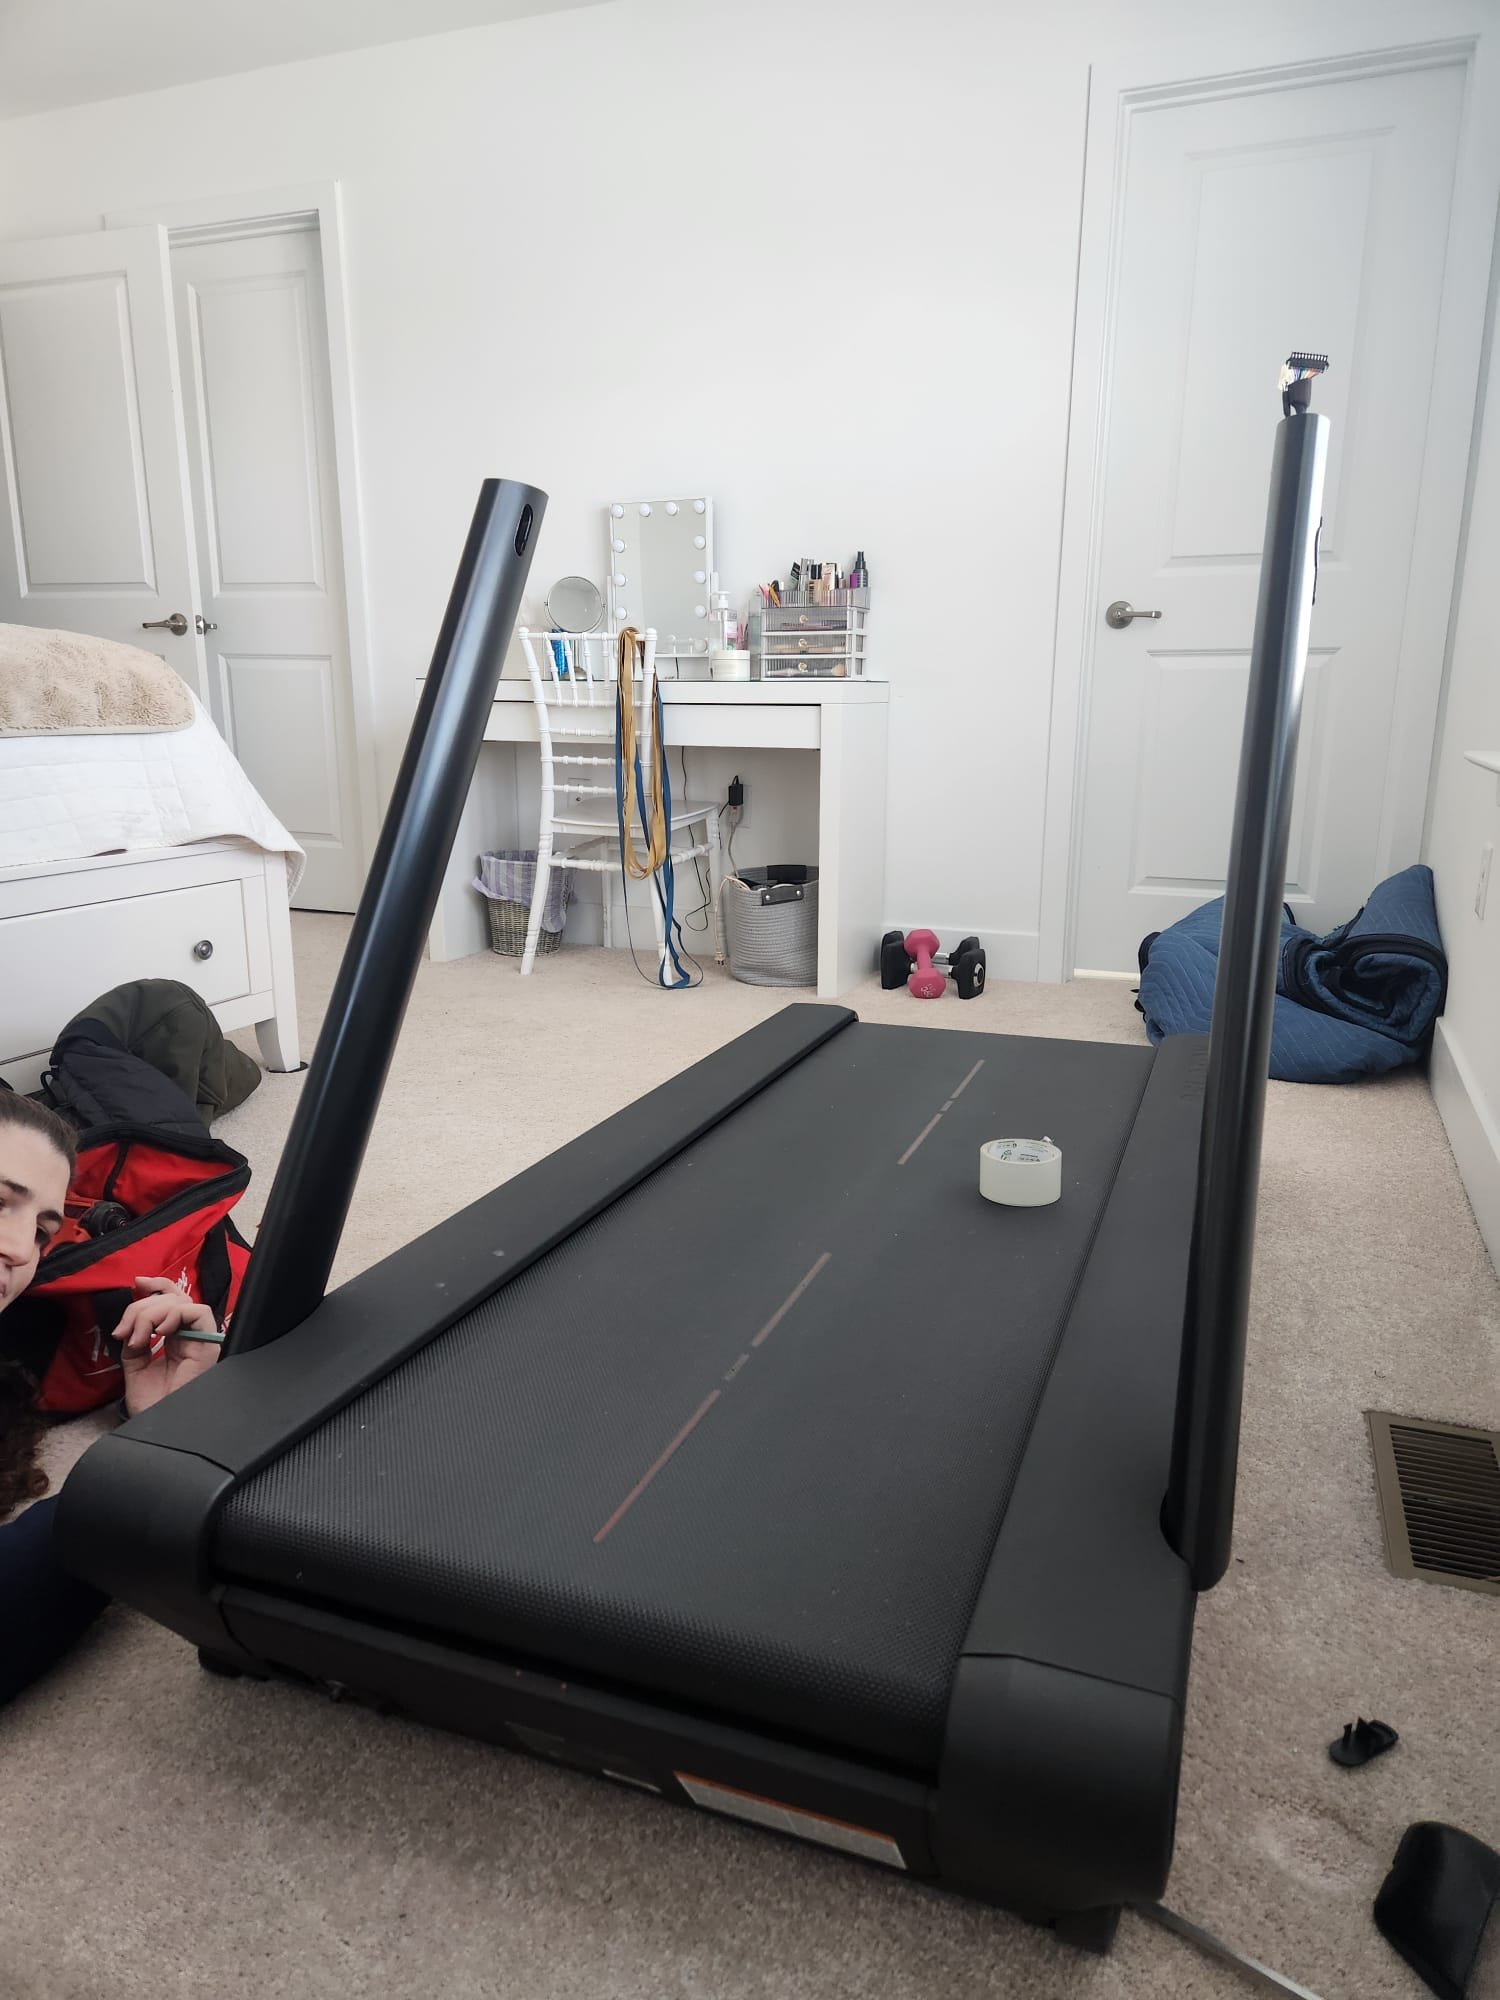
It is important to note that treadmills with folding mechanisms will still require disassembly to move as the feature is meant to save space in the room but not designed to be able to fit through a standard doorway and can cause damage to the machine and door jam if attempted in one piece. Generally you’ll be able to get away with moving a treadmill in two pieces which will require the removal of the lower arms of the machine from the base of the unit.
Commercial Grade Machine plastic cover removed to expose hardware for disassembly ICON Allen Key Set
Depending on the model and circumstance you may also have to separate the screen/control unit and upper arms of the machine as well. To access the bolts you will have to carefully pry up the plastic panels on the bottom ends of the posts on each side of the machine. We recommend to use a plastic tool on the panels (such as the Pittsburgh automotive installer kit) to do this to prevent any scratches/scrapes and ensure they will be able to clip back in place for assembly.
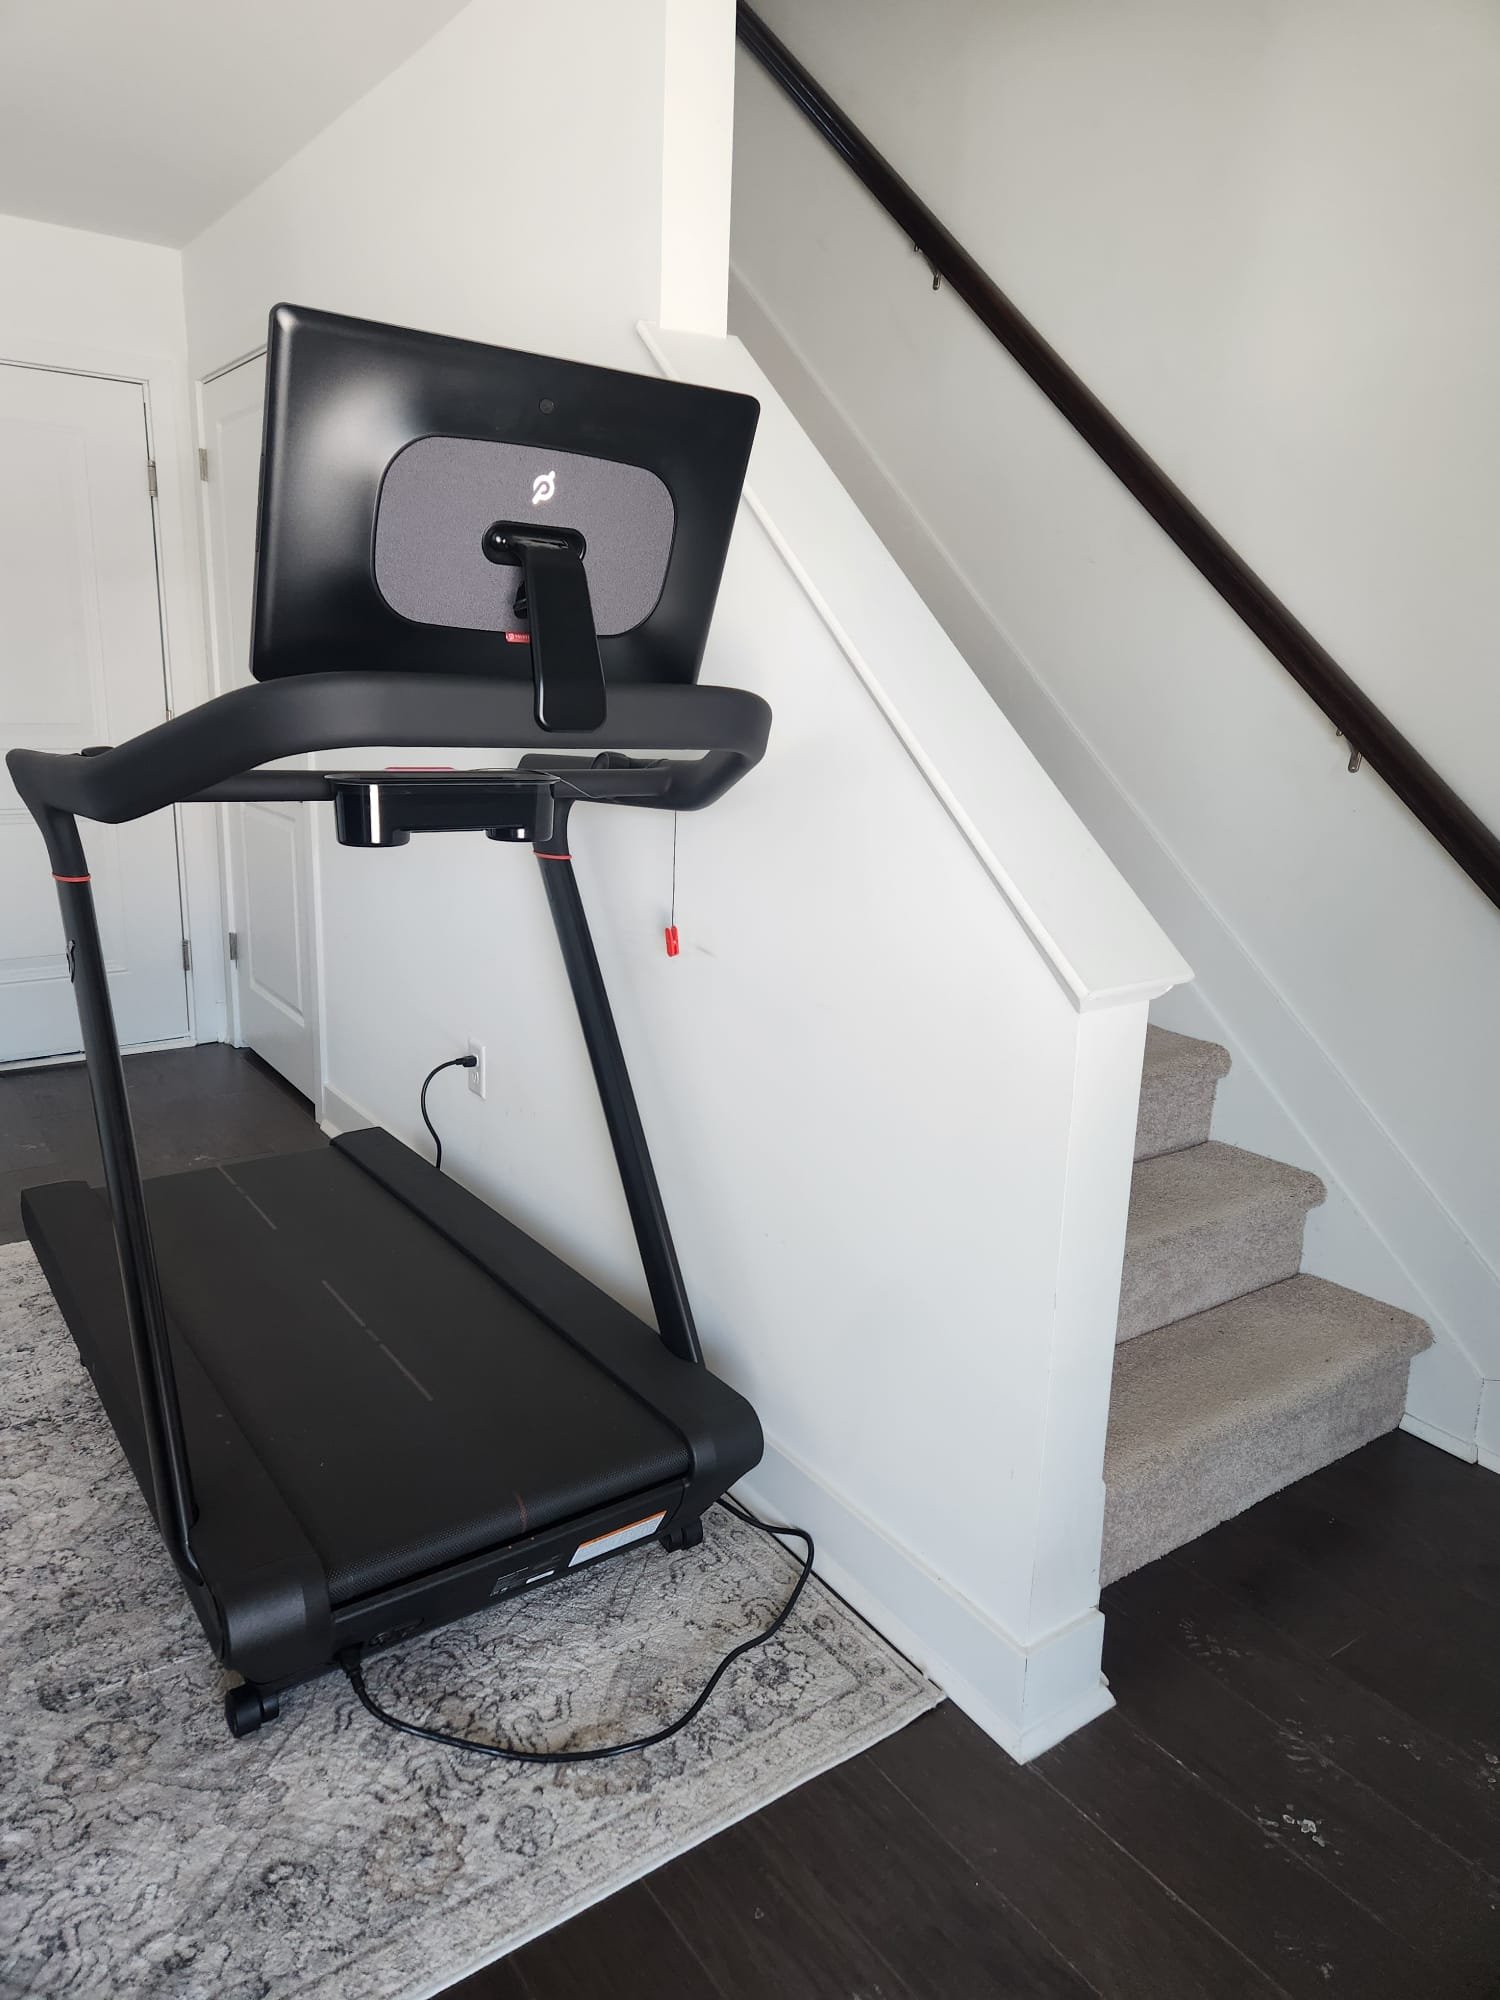
Home Fitness Peloton Treadmill touchscreen control center removed and wiring disconnected from side posts
At least one of the posts on either side will have the wires running through it that connect the control unit to the motor and are crucial for the operation of the machine. It is always a good idea and safe practice to take pictures before and after disconnecting and unbolting anything on the treadmill so you can use it as reference when it comes time to put it back together. Use tape or zip ties to keep wiring in order and cups to collect and separate different size bolts and screws.
Preparing for the Lift
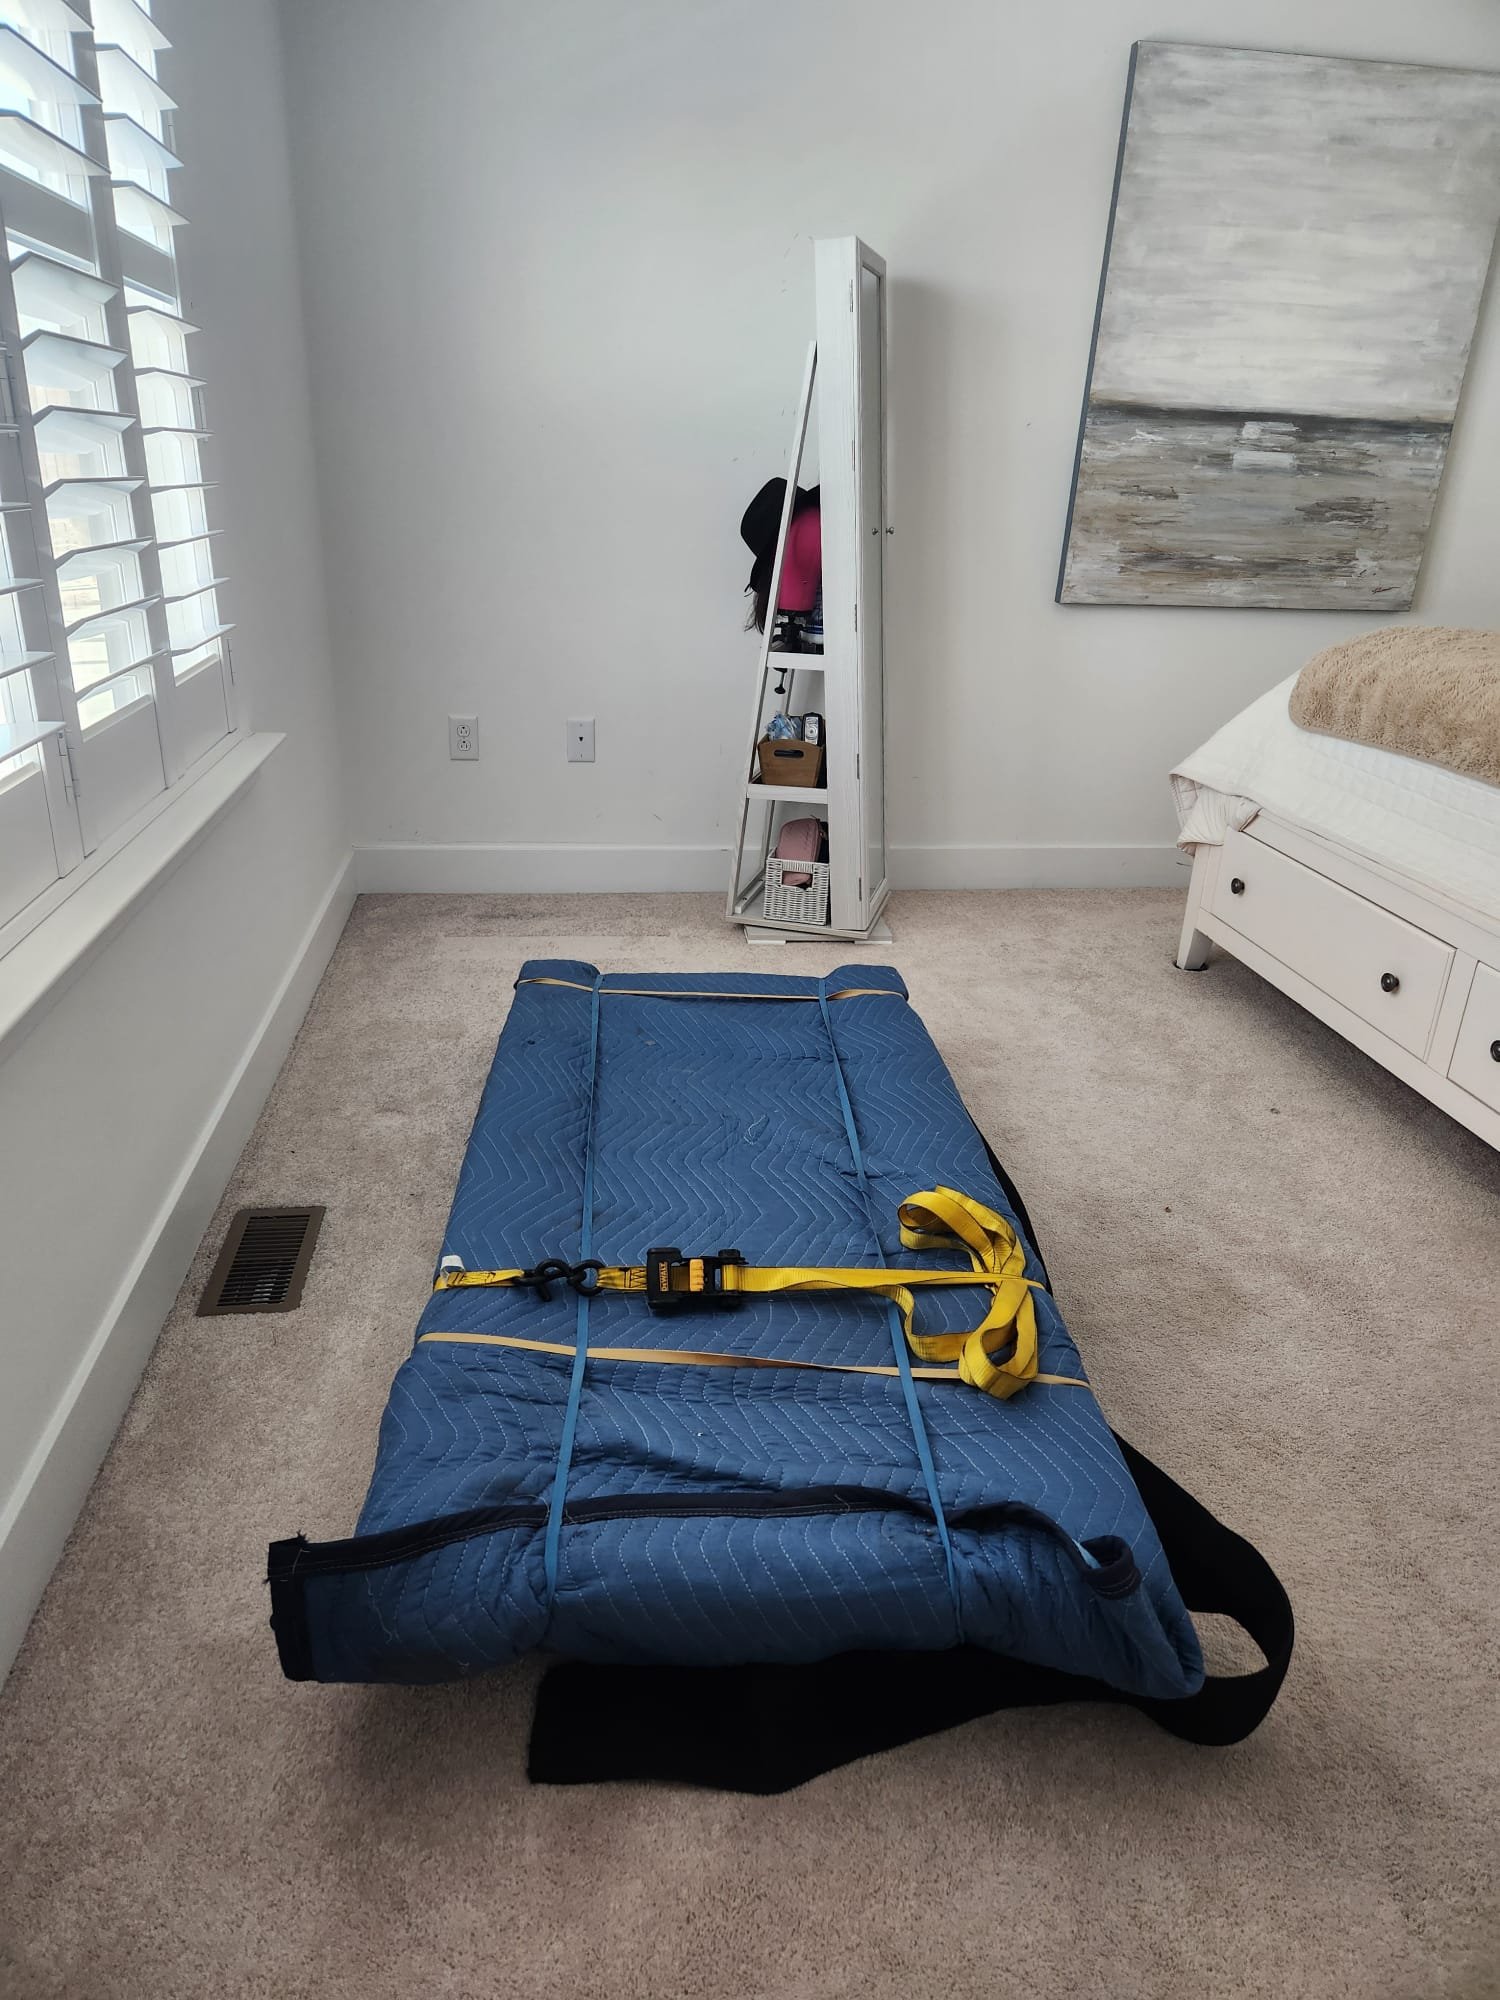
You want to make sure you take the proper precautions and measurements ahead of time so you can complete the job without a hitch or single scuff in sight. To do it right you should cover the unit completely with a protective blanket to ensure no damage to the item itself or anything it may come in contact with throughout the process. Usually one Heavy Weight 72” x 80” Furniture Pad should do the trick for the lower portion of the unit and should be secured tightly with tape or rubber bands to avoid hook ups / snags
Base of unit Prepared for Lift furniture pad secured with moving bands, main lifting strap secured to side of unit with ratchet strap
It is Not Recommended to attempt this kind of lift without the Proper Equipment. A Reliable set of body harness moving straps can be used in combination with a set of ratchet straps to get the job done without the worry or frustration of slipping and ensure safety. We like to secure the main lifting strap from the harness set to the side of the unit using the ratchet straps and creating stable holding points, then flip the unit up on its side and clip in for the lift.
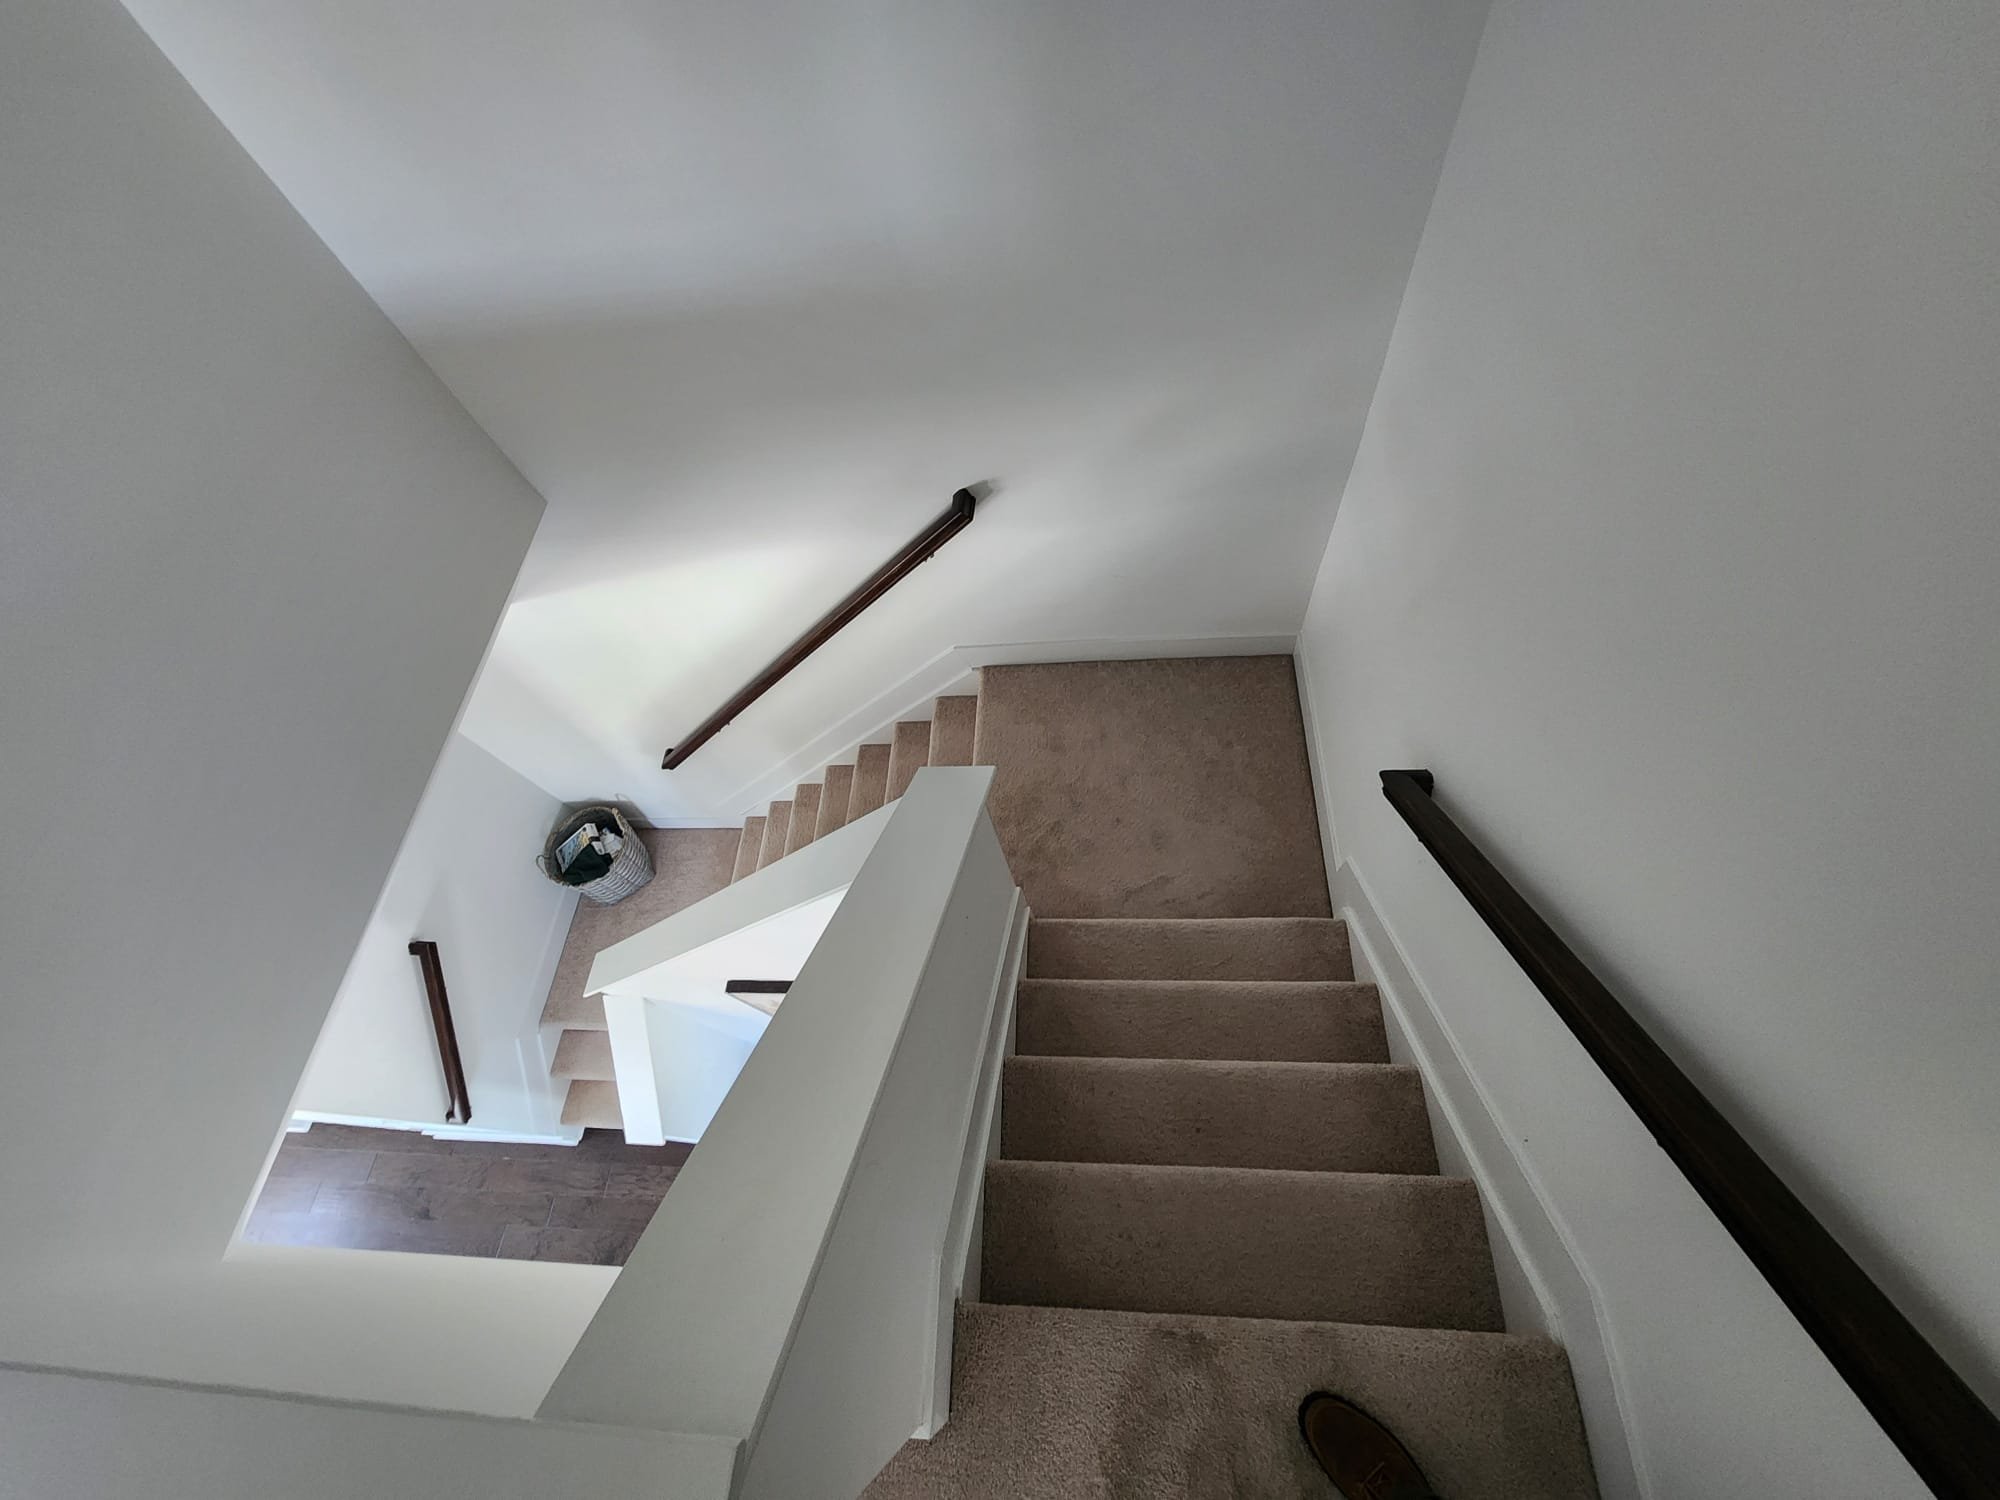
Note the turn in the staircase you’ll be working on and make sure to clear it of all hanging pictures or other obstruction before attempting the move
When approaching the staircase, you want to consider the weight distribution of the machine and how you can use it to your advantage and set you up for a smooth move. Naturally a treadmill will be heavier on the side of the machine the motor/main mechanism is housed, so you’ll need your strongest helper(s) on this side of the machine and you’ll want to make sure to keep that end closest to the ground when moving in any circumstance. This means when going up the stairs with the treadmill you’ll want the lighter side to go up first and the heavier side to follow pushing from the bottom, and when going down a staircase you’ll want the heavier side to go down first while the lighter side follows. This technique should allow the most control over sway when moving the unit and assist the safety of each mover during the process. If you don’t feel prepared to attempt this call a professional we’d be glad to help
A few precautious huffs and puffs later and hopefully success! Taking your time is necessary but note that you’ll want to avoid resting the machine in vulnerable positions due to the weight and definitely do not slide it across any surfaces under any circumstance. When pulled off correctly it should be as if it had floated down the staircase to rest in position. You’ve gotten past the hard part, now lets wrap it up.
Reassemble and Rest Assured
Now its time to retrace your steps from the previous disassembly process and hook up the wiring harnesses based off of your reference pictures. It is wise to test all the functions of the machine before replacing the plastic panels and fully tightening down each bolt to make sure you did the job right and avoid damage to components from re-assembly and disassembly due to panicked troubleshooting.
Sit back as a reward or hop right on and enjoy the new view, Hopefully these tips helped out with your relocation and if your looking to hire for the service make sure to contact us at 732-242-7412 for Estimate and Booking nobody else is more skilled, with fast service fair rates and customer satisfaction guaranteed who better to call than Butch Services

